

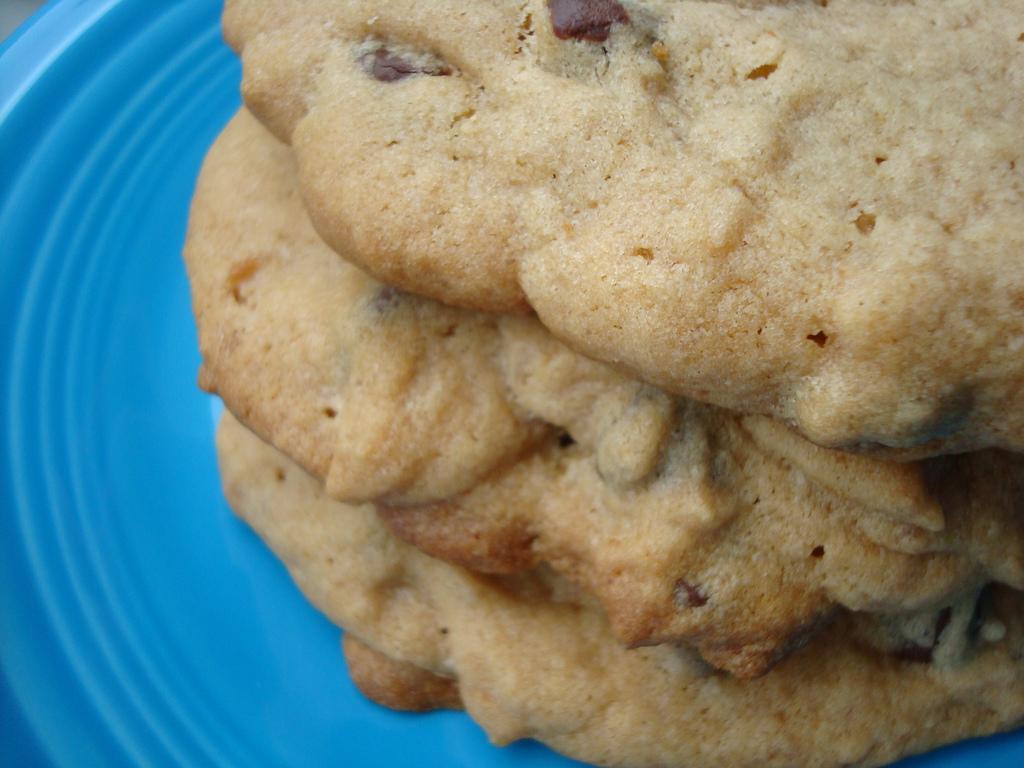
Chewy. Cakey. Crisp. Soft. Gooey. Which is the chocolate chip cookie of your dreams?
When I was young, I used to like chocolate chip cookies, but without the chips. I would painstakingly pick out the chips (no small feat for a toddler) and enjoy my cookie. One day, my sister made me a batch without chips. But this wasn’t right either: turns out I liked the flavor that the chips lent the batter, just not the texture of the little chocolate lumps in the cookies.
As I got older, my tastes matured. Today, my ideal cookie is mostly chewy, with the slightest touch of crispness on the edges, but soft throughout, with extra salt and slightly fewer chips than most recipes call for.
This is all to say that when it comes down to it, the makeup of the ideal chocolate chip cookie is a deeply personal thing. But when you start to look at the cookie from the inside out, you can start to understand the effect of each ingredient and each step in the baking process. This knowledge will empower you with the ability to tailor your chocolate chip cookies to your own ideal experience.
The art of fats
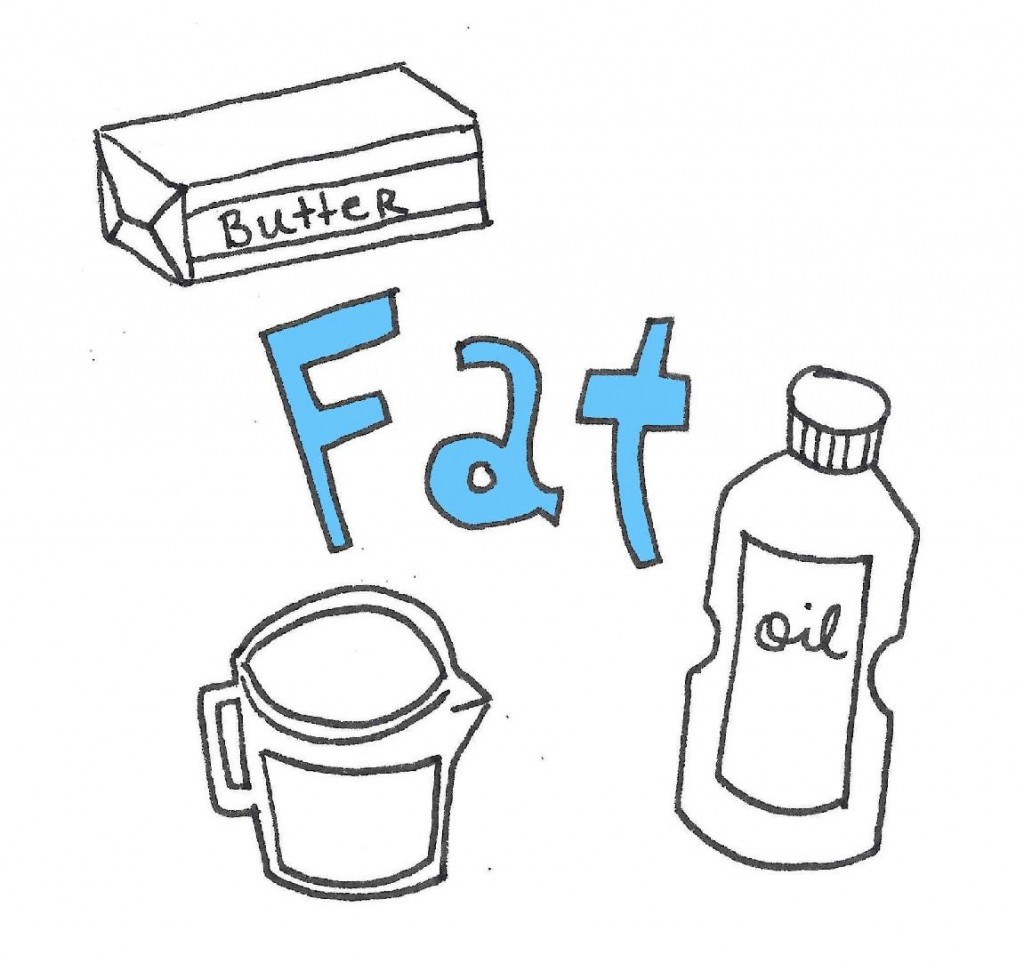
Does butter make it better, or should you keep it short(ening) and sweet? Depends on your desired result. Here’s a review of several common types of fat used in chocolate chip cookies and how they affect the end result.
Shortening – Shortening in your cookies will yield an extremely tender, yet somewhat dense cookie. However, shortening does not impart a flavor, so these cookies can come across as bland compared to their buttery counterparts.
Butter substitute – Substitutes such as Earth balance can be used to make cookies. They will act more similarly to shortening, but will have more flavor. They will act much like shortening, but are typically more health-minded and have more flavor. Be sure to buy “baking bars” of butter substitutes, as not all butter substitutes are meant to sustain high heats. These are a good choice for vegan diets.
Butter – Butter will, hands down, impart the most flavor to your cookies. Typically, you’ll use unsalted butter in chocolate chip cookies (and most baked goods, unless otherwise noted) and add salt to the recipe. But should the butter be cold, warm, soft, melted? Let’s explore.
Creamed butter – Creamed butter is the favored method for cookies. Why so? Well, let me illustrate with an example. You know how sugar is kind of grainy? As it mixes with the creamy butter, those granules act almost like little knives, but what they cut is air pockets into the butter. The air helps in terms of leavening, allowing gases to release during the baking process, making the cookies rise.
Melted butter – If you use melted (or browned) butter in your cookies, you won’t have as much air incorporated as through the creaming process, so your cookies will be heavier and less airy.
A mix of fats – You can also employ a mix of fats to see what your ideal result is with texture. Personally, I like a mix with a ratio of ¾ butter to ¼ shortening. The shortening gives the cookies a bit of a “chew” that I personally welcome.
The art of sugar

The classic Toll house cookie relies on a mix of white and brown sugar. Why?
White sugar – The classic baking sugar is fairly neutral with other ingredients, and will not contribute to the cookie’s rise in a big way. If you were to make cookies with just white sugar and no brown, they would be lighter in color and would spread slightly more.
Brown sugar – Not only is brown sugar more moist than white sugar, but it also reacts with the acid from the leaveners in your chocolate chip cookie. This means that it will help your cookies rise, and it will help them from becoming too crispy. It also lends a nice, caramelly flavor to the finished product.
Using just one or the other is technically fine, but a mix tends to result in the best of both worlds: a chewy cookie with just enough spread and crispiness, and a remarkable flavor.
PS: did you know you can make your own brown sugar?
Simply mix one cup granulated sugar with one tablespoon molasses. Stir until combined, and you’ve got yourself brown sugar!
Chocolate in “chocolate” chip

Without the chocolate chips, they’d just be…cookies. But what type of chips of chocolate should you use for your cookies?
Morsels / chips – Fun fact: chocolate morsels were invented in response to the cookie’s popularity. They are specially designed to not melt, so that they hold their shape in cookies. However, they are treated with wax to ensure this shape-holding, which can impart a waxy flavor and gritty texture. Be sure to use a good quality chocolate chip when baking your cookies.
Finely chopped chocolate – Finely chopped chocolate can infuse the cookies through and through with chocolatey flavor. Some will melt, some will retain its form, giving it a kind of stracciatella-like look in your cookies. The color will be darker, and the chocolate will be more infused, not a decidedly separate component.
Coarsely chopped chocolate – Coarsely chopped chocolate from a block can give you the best of both worlds. It melts smoother than morsels, but retains more shape than finely cut chocolate.
Discs – Discs are like morsels but flatter–sort of like the shape of candy melting chocolate, but made of high quality chocolate. They will retain their shape but ooze slightly more than morsels; if you don’t feel like chopping chocolate, this is your pick.
As for the type of chocolate? While you can use any kind in your cookies, semi-sweet chocolate tends to be the type that pleases most palates.
The art of flour
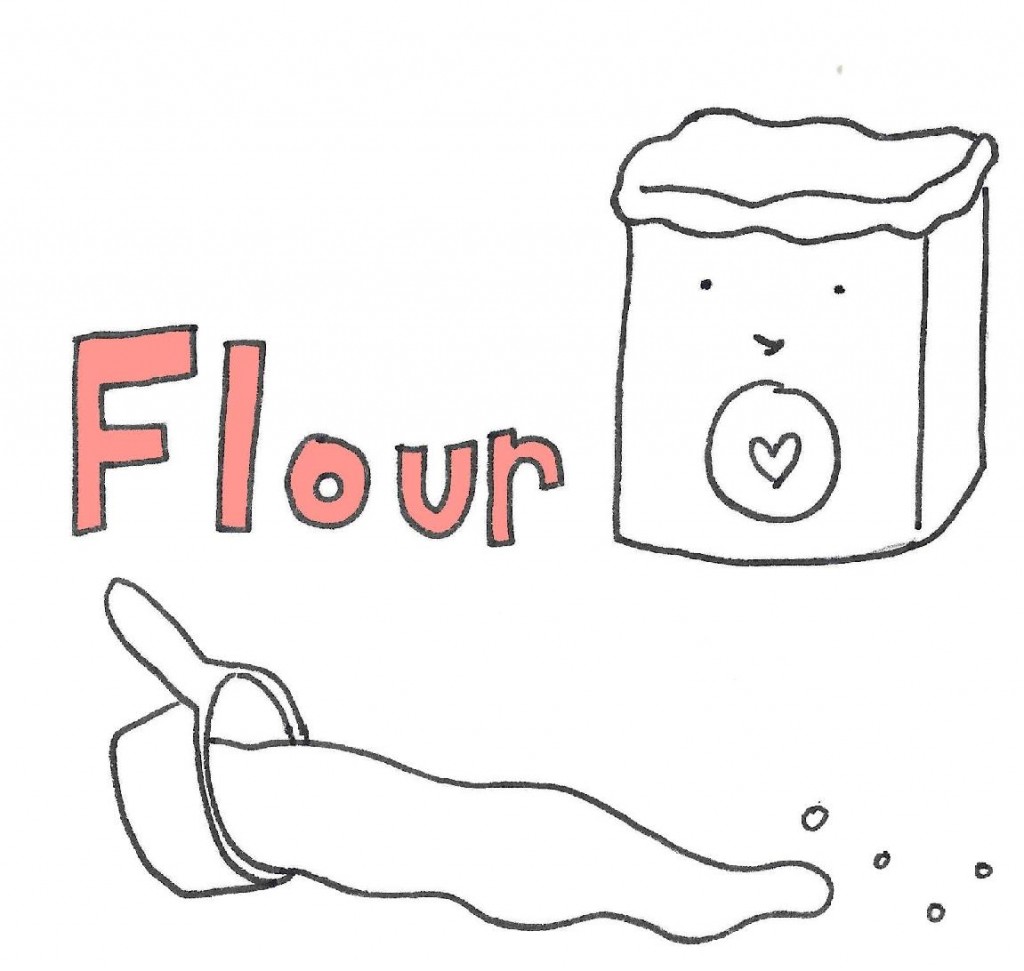
As with most baked goods, the flour of choice is all-purpose flour.
The science: This flour has a moderate protein content, which makes it ideal for cookie-baking. The protein content of a flour is directly connected to the structure of a baked good.
For instance, cakes or feathery biscuits rely on a low-protein pastry flour for their delicate crumb. Sturdy breads and pizza doughs rely on high protein bread flour so that they can be kneaded. All-purpose is the goldilocks: right in the middle, with enough delicacy to make a tender crumb, but enough muscle to make a firm cookie.
You can substitute part whole wheat flour in your chocolate chip cookie dough. I would warn against substituting the entire amount, because whole wheat flour absorbs more moisture and can throw off your ratios. However, up to ½ whole wheat flour should be fine.
You can also play around with substituting part pastry flour or bread flour; the resulting cookies will be more delicate and more sturdy, respectively.
If you prefer that your cookies not spread so much, add an extra 2 tablespoons of flour to the mix.
Tip: Once you add the flour to your batter, only mix until it is combined and you no longer see powdery streaks. Overworking the flour activates the gluten, and makes the cookies tough.
Gluten-free flours will require a mixture to attain the perfect texture and taste. If you are not well-versed in gluten-free flours, trying an all purpose gluten free flour such as Cup By Cup is suggested.
The art of eggs

Talk about incredible, edible eggs: these orbs are miracle-workers when it comes to your cookies. The roles they play include:
- Structure – You know how an egg becomes firm as you heat it, whether by boiling or frying? Well, that same reaction occurs in the baking process. Eggs mixed in your batter or dough will help set the structure of your cookies.
- Leavening – Egg whites hold the air in and help the baked good in question attain a light, puffy rise. Combined with the flavor and structure provided by the yolks, this will ensure a flavorful baked good with a superior texture.
- Richness – Because of the fat content in egg yolks, they add a richness to the flavor of baked goods. Just try to think of how a decadent key lime pie would taste without eggs in the curd!
Little extras: vanilla extract and salt

If cookies are gold, salt and vanilla extract are the polish that makes them shine. Respectively, they are quite different, but both contribute to the same goal. Salt in the batter brings out every single one of the flavors separately and makes them work together equally, and a sprinkling of salt on top of a cookie can really make it shine. Vanilla extract (the higher quality, the better) enhances the “cookie” part, amping up the flavor so that it can shine even in the wake of the stronger-tasting chocolate chips.
Baking powder
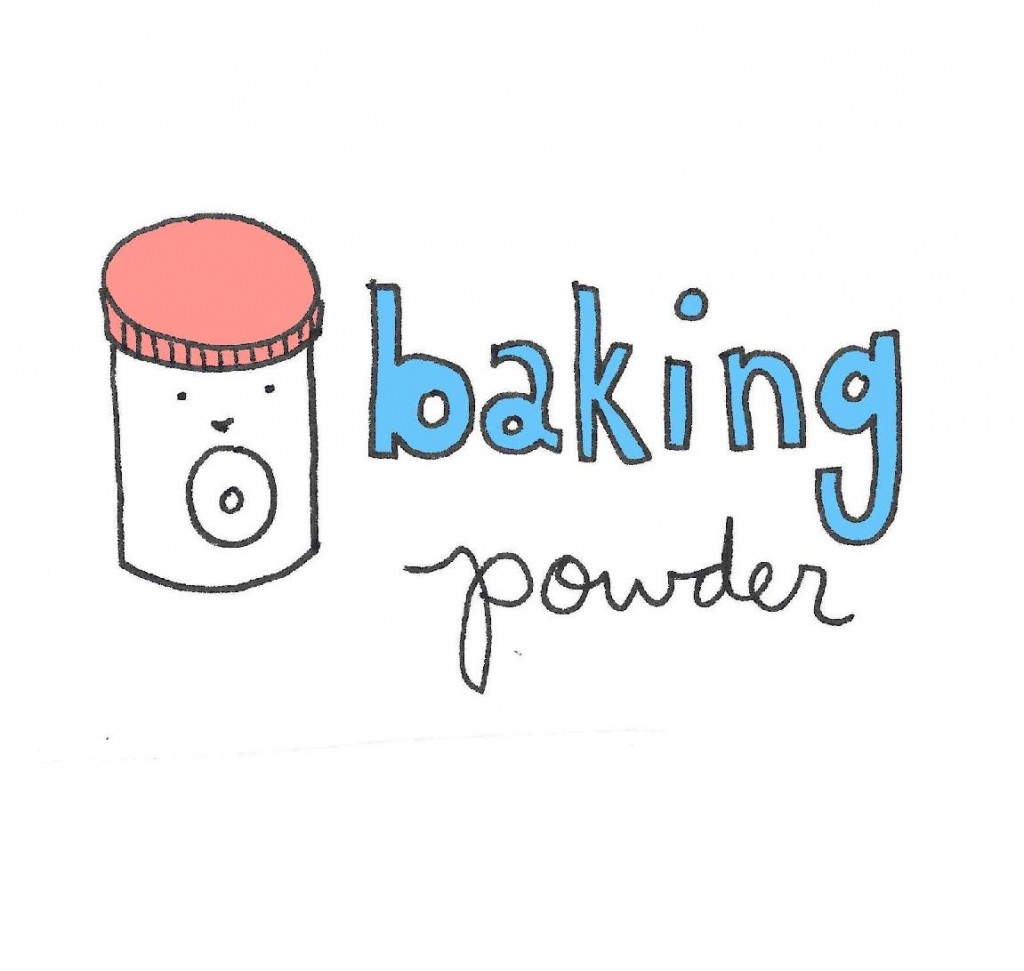
Chocolate chip cookies are far more likely to include baking powder in the ingredient list than baking soda.
Baking powder is actually a derivative of baking soda, made by mixing baking soda with an acidic ingredient (typically cream of tartar), which means it doesn’t have to be added to an acidic ingredient in batter to work, as in the case of baking soda. Instead, it is activated by moisture. Because of this, it often has a drying agent such as starch, too, to keep it from activating too soon.
Like baking soda, the function of baking powder is to give baked goods a nice rise. However, since it already has an acidic ingredient added, the reaction occurs not when it is combined with acid, but when it is combined with moisture and/or heat, depending on the type of baking powder you use.
Optional ingredients
While not part of the typical chocolate chip cookie mix, these ingredients can be added to tailor the experience.
Cornstarch – Using part cornstarch gives chocolate chip cookies a unique, cakey-chewy texture that I personally find irresistible. Add 2 teaspoons cornstarch and reduce the flour by the same amount.
Nuts – Calling this an optional ingredient may be controversial, because they are part of the official Toll House chocolate chip cookie recipe. These days, due to nut allergies and preferences, I’ll call them optional. Add up to one cup of coarsely chopped nuts, folded in at the same time as the chips. For best flavor results, lightly toast the nuts and let cool before folding into the mixture.
The art of baking

The ingredients aren’t the only part of baking. Here are some important aspects of the baking process which can affect your cookies.
The order in which you mix – The baking process of chocolate chip cookies typically follows a reliable trajectory: cream the butter and sugar, add the eggs and vanilla, add in the dry ingredients, fold in the chips. There is a science behind this. By adding the ingredients in this order, you set up a scientific reaction that allows your cookies to rise beautifully; adding the flour last allows the cookies to remain tender.
Size and shape – You can make your cookies as large or as small as you want, but do keep an eye on the baking time. Be aware that larger cookies may become crispier on the edges.
You don’t have to bake your cookies individually. You can press the batter into a pan to make bars, too.
Baking sheets – Line your baking sheets with parchment paper or a silpat mat for easy removal. Never place cookie dough on a hot sheet–the baking process will start prematurely and you might just end up with unbalanced cookies that spread too much and don’t bake evenly.
Your oven – This might sound obvious, but a preheated oven is the ideal way to bake your cookies If the oven hasn’t reached the desired temperature, your cookies won’t bake evenly.
I’ve tried baking cookies in a variety of different ways, including pan-frying and even boiling, and while the results were interesting, I suggest you stick to the oven!
For best results, shift the tray halfway through the baking process to even out any hot or cool spots in your oven and keep the cookies baking evenly.
Timing is everything – In 2008, an article published by the New York Times changed chocolate chip cookery for, like, ever. One of the key aspects of the article was the discussion of resting your dough before baking.
It’s not unusual to see a recipe call for resting the dough for 20 minutes, 2 hours, even overnight. But this article mentioned that some esteemed bakers swear by resting their dough for a whopping two days. Who can wait two days for cookies once the dough has been mixed?
When it comes down to it, the resting period isn’t going to make or break your cookies–they will still be good if you bake them even right after mixing the dough. If you have small kids in the house, they probably won’t discern the difference. But they won’t have the flavor complexity of cookie dough that has rested for a while to let the flavors blend and help the dough develop structure.
If you can wait even two hours or up to overnight, you will be rewarded with a more complex flavor. It’s worth a try to see if they’re worth the wait!
Well, now that we went over the basics on making a perfect and delicious chocolate chip cookie, it’s time to bake!
Chocolate chip cookie recipe
Adapted from the classic Toll House recipe
- 2 1/4 cups all-purpose flour
- 1 teaspoon baking soda
- 1 teaspoon salt
- 1 cup (2 sticks) butter
- 3/4 cup granulated sugar
- 3/4 cup light brown sugar, packed
- 2 large eggs
- 1 teaspoon vanilla extract
- 2 cups (12 ounces) chocolate morsels or chopped chocolate
Step #1: Preheat the oven to 375 degrees F. Line two baking sheets with parchment paper.
Step #2: In a medium bowl, stir together the flour, baking soda, and salt.
Step #3: In the bowl of a stand mixer fitted with the paddle attachment, cream the butter and two types of sugar until creamy, 3 to 5 minutes. Add eggs, one at a time, beating well after each addition and pausing to scrape down the sides of the bowl. Stir in the vanilla.
Step #4: Reduce the speed of the mixer to low, and gradually beat in flour mixture.
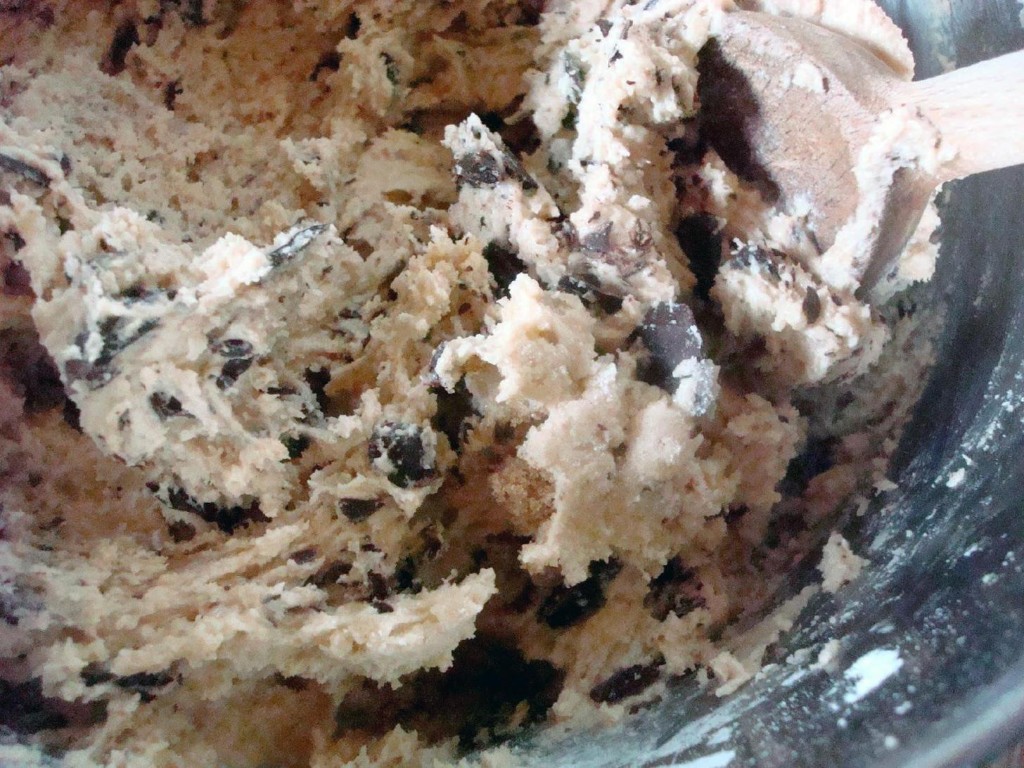
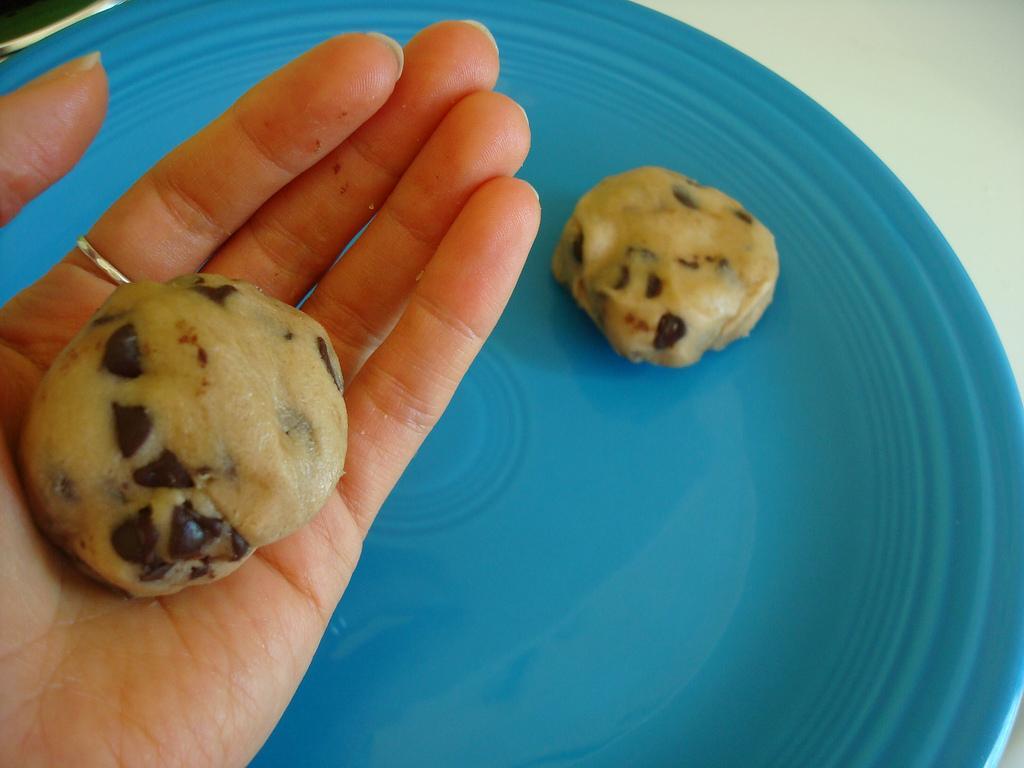
Use this technique – fold in the morsels and nuts using a wooden spoon (don’t use the mixer). Drop by rounded tablespoons onto your baking sheets.
Step #5: Bake for 9 to 12 minutes, or until set in the center and golden on the edges.
Step #6: Remove from oven and let cool on the sheets for a couple of minutes before transferring to wire racks to cool completely.
Step #7: Enjoy, and don’t forget to share!
What is your ideal chocolate chip cookie?
Article, photographs, and illustrations by Jessie Oleson Moore.